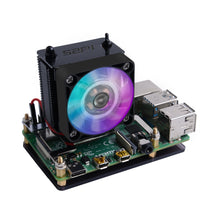
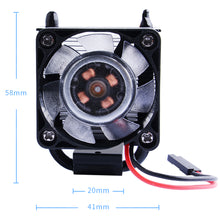
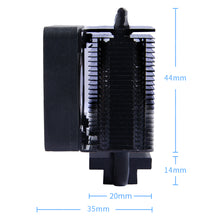
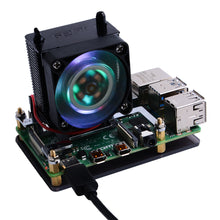
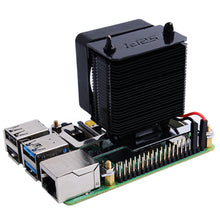
52Pi ICE-Tower CPU Cooling Fan V2.0 for Raspberry Pi 4 B / 3B+ (Black)
Offer Ends In:
Guarantee safe & secure checkout
[Description]
According to Moore's law, the design of high-speed and high-density printed circuit board (PCB) is becoming more and more complex.
Higher processing performance will generate more heat.
This super ICE Tower CPU Cooling Fan for Raspberry Pi is burned for solving heat dissipation problem!
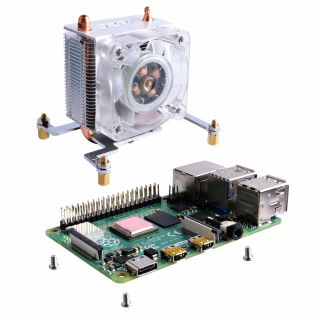
Tower structure, 5mm copper tube, multi-layer heat sinks, 7 blades powerful fan, all the above combinations make this super radiator for Raspberry Pi.
In the case of overclocking, it can reduce the temperature of the Raspberry Pi from 80℃ to 40℃.
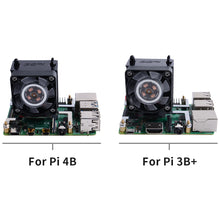
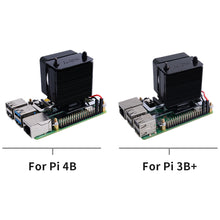
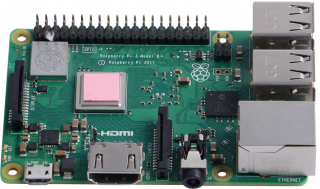
Best of all, this super cooling fan support both Raspberry Pi 3 and the new Raspberry Pi 4.
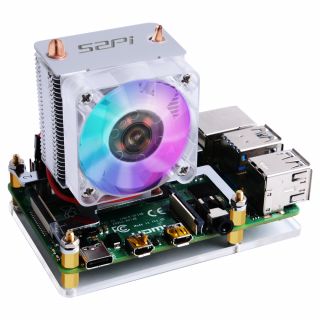
When the fan turns up, you will see 7 colors.
[Features]
-
DC 5V Power in (Can be powered by the Raspberry Pi)
-
Ice Tower Structure
-
5mm copper tube
-
Super heat dissipation
-
Rated power 0.4W @5V, 0.08A
-
Super Cool fan background light (7 Colors)
-
Easy to setup
[52Pi WiKi]
It is recommended to use the Raspberry Pi official system, please refer to the wiki
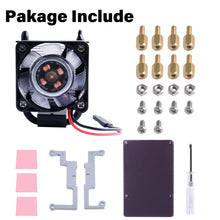
[Package Includes]
Only the ice tower cooling fan bundle:
Note: the power supply and Raspberry Pi board are not included!
-
1 x Ice Tower radiator and Fan
-
1 x 4010 Black No Light Cooling Fan
-
2 x Steel Mounting Fixer (Fit for Raspberry Pi 3B+)
-
2 x Steel Mounting Fixer (Fit for Raspberry Pi 4B)
-
2 x M2x4 Screws
-
4 x M2.5x6 Copper sticks
-
4 x M2.5 Nuts
-
4 x M2.5x4 screws
-
3 x Thermal Tape
-
1 x Screw Driver
-
1 x Acrylic Bracket
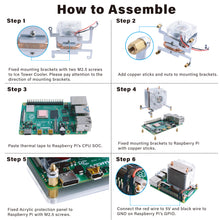
[How to assemble]
Raspberry Pi 3B+
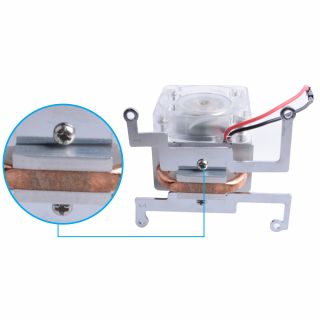
- 1. Fixed the steel mounting fixer to radiator's heat dissipation cube with M2.0 screws
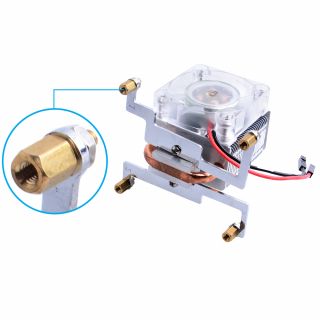
- 2. Fixed the steel mounting fixer to Raspberry Pi 3B+’s mounting hole with M2.5 copper stick, and please make sure the heat dissipation is contact to CPU shield properly.
- 3. Fixed the copper stick to Raspberry Pi with M2.5 nuts.
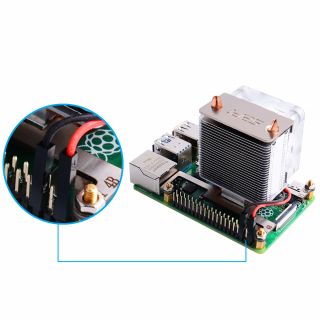
- 4. Connect the red wire to GPIO 5V pin and black wire to GPIO GND pin.
Raspberry Pi 4B
- 1. Fixed the steel mounting fixer to radiator's heat dissipation cube with M2.0 screws
- 2. Fixed the steel mounting fixer to Raspberry Pi 4B’s mounting hole with M2.5 copper stick, and please make sure the heat dissipation is contact to CPU shield properly.
- 3. Fixed the copper stick to Raspberry Pi with M2.5 nuts.
- 4. Connect the red wire to GPIO 5V pin and black wire to GPIO GND pin.
[Package Include]
- 1 x Ice Tower radiator and Fan
- 2 x Steel Mounting brackets
- 8 x M2.5x6 Copper sticks
- 4 x M2.5 Nuts
- 6 x M2.5x4 screws
- 3 x Thermal Tape
- 1 x Screw Driver
- 1 x Protective Acrylic Panel

PS: Product does not contain thermal silicone grease, but if you have thermal silicone the dispassion effect will be better.
Customer Review
- YOUTUBE URL:
- [ https://youtu.be/9lqkllZiXN4 ]
- [ https://www.youtube.com/watch?v=3Eiq7k7Sekc ]
- [ https://www.youtube.com/watch?v=Rs1SnojIyDk ]
- [ https://www.youtube.com/watch?v=FciNotr6d6g ]
- [ https://www.youtube.com/watch?v=hWvd7foeICg ]
- [ https://www.youtube.com/watch?v=e6mWImsF9iI ]
- [ https://www.youtube.com/watch?v=wn0-w1M9puk ]
- [ https://www.youtube.com/watch?v=7YRnQ09fGWI ]
- [ https://www.youtube.com/watch?v=OiRD7WWvTQg ]
- [ https://www.youtube.com/watch?v=lD7t-IGLjVM ]
- [ https://www.youtube.com/watch?v=tie6r5ymUug ]
- Instructable:
| Vendor: | |
|---|---|
| SKU: |
EP-0111 |
| Weight: |
0.18 kg |


